
Storm Damage Roof Inspection: A Homeowner’s Checklist
The single best next step after a storm is this: stay off the roof, photograph the exterior and attic now, and schedule a licensed storm damage roof inspection within 48 to 72 hours. Waiting longer risks hidden leaks turning into mold, and insurers expect prompt documentation before you start cleanup.
Do these three things first:
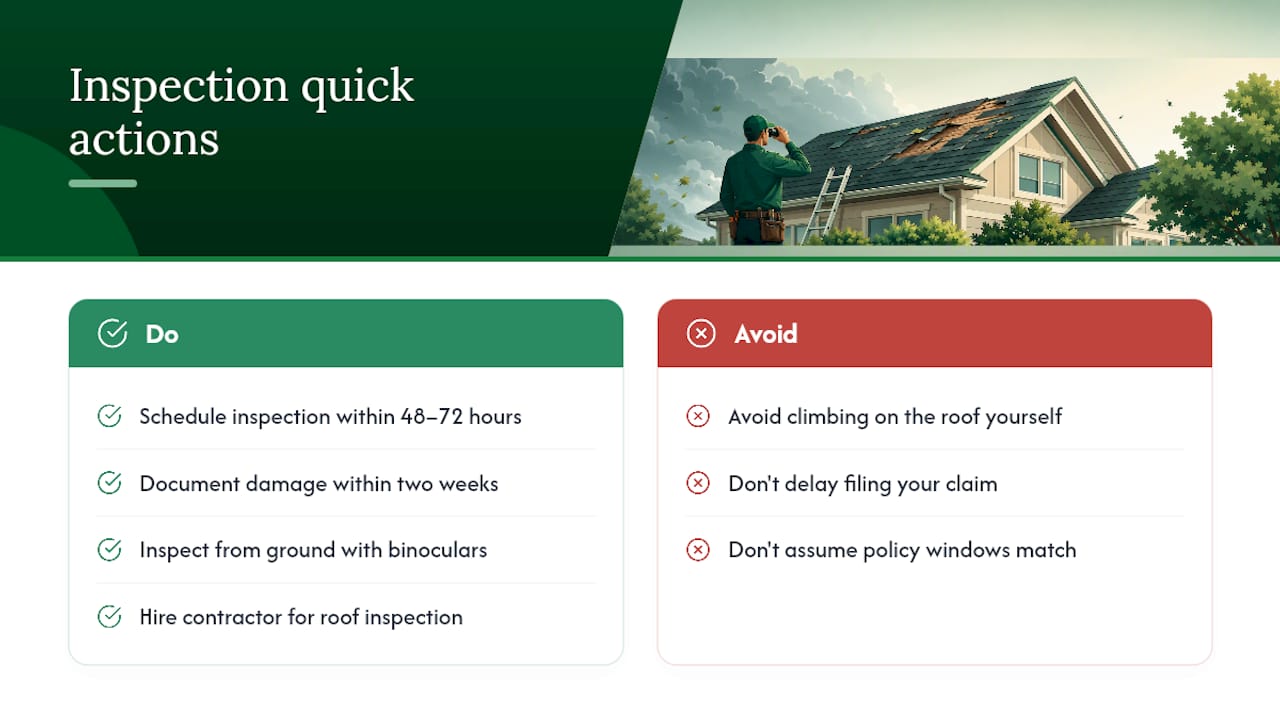
- Stay on the ground. Walk the perimeter with binoculars instead of a ladder.
- Photograph every visible sign of damage, plus the attic if you can safely access it.
- Check your insurance policy’s notice window, then call a licensed roofing contractor.
Pro Tip: Homeowner guides consistently recommend inspecting within two weeks of a major storm, but the first 48 to 72 hours matter most for catching water intrusion before it spreads.
Key Takeaways
A thorough storm damage roof inspection combines safe ground-level documentation, attic checks, and the test-square method to give homeowners and insurers a measurable record of damage.
| Point | Details |
|---|---|
| Act within 48 to 72 hours | Inspect and document damage quickly after severe storms to protect your claim and limit mold risk. |
| Document before cleanup | Photograph shingle fragments, granules, and collateral metal damage before debris is cleared away. |
| Use the test-square method | Count hail impacts in 10 by 10 foot sample areas per slope to support repair versus replacement decisions. |
| Check the attic, not just the roof | Daylight, damp insulation, and water stains near roof penetrations reveal hidden intrusion early. |
| Hire credentialed help | Smartroofingpros, a CertainTeed Premier ShingleMaster, delivers photo catalogs, test-square counts, and on-site estimates for storm claims. |
Table of Contents
- Quick Ground-Level Roof Inspection Checklist After a Storm
- What Do Wind, Hail, and Age-Related Roof Damage Look Like?
- Checking Your Attic for Hidden Storm Damage
- How Do Insurance Adjusters Want Storm Damage Documented?
- When Should You Call a Licensed Roofing Contractor?
- How Smart Roofing & Restoration Approaches Storm Damage Inspections
- What the Test-Square Method Really Tells You
- Get a Professional Storm Damage Inspection From Smartroofingpros
- Frequently Asked Questions
- Sources
Quick Ground-Level Roof Inspection Checklist After a Storm
You don’t need to touch a ladder to gather evidence that holds up with an adjuster. Most of what matters is visible from the yard, the driveway, or a second-story window.
- Walk the full perimeter of your home with binoculars, checking all four roof slopes for obvious gaps, discoloration, or missing sections.
- Take wide overview photos from each side of the house, then move closer for anything that looks off.
- Collect shingle fragments, granules, and debris that have collected in gutters or on the lawn.
- Photograph any dented metal, including AC condenser fins, gutters, and the mailbox, with a coin or tape measure for scale.
- Note the exact time the storm hit and pull official weather data from the NHC for your zip code.
Dented AC fins and mailboxes matter more than they seem. Metal doesn’t lie about impact force the way an aging shingle does, and adjusters often treat dented collateral items as a reliable proxy for hail size.
Pro Tip: Photograph collateral damage before you clean up debris. Once the yard is cleared, you lose your best physical evidence of hail size and storm intensity.
What Do Wind, Hail, and Age-Related Roof Damage Look Like?
Not every imperfection on your roof came from last week’s storm, and telling the difference is exactly what a storm damage roof inspection is built to do.
Wind damage typically shows up as:
- Shingles that are lifted, creased, or curled at the edges
- Missing ridge caps or starter courses along roof edges
- Nails backed out or visible through cracked shingle tabs
Hail damage tends to look different:
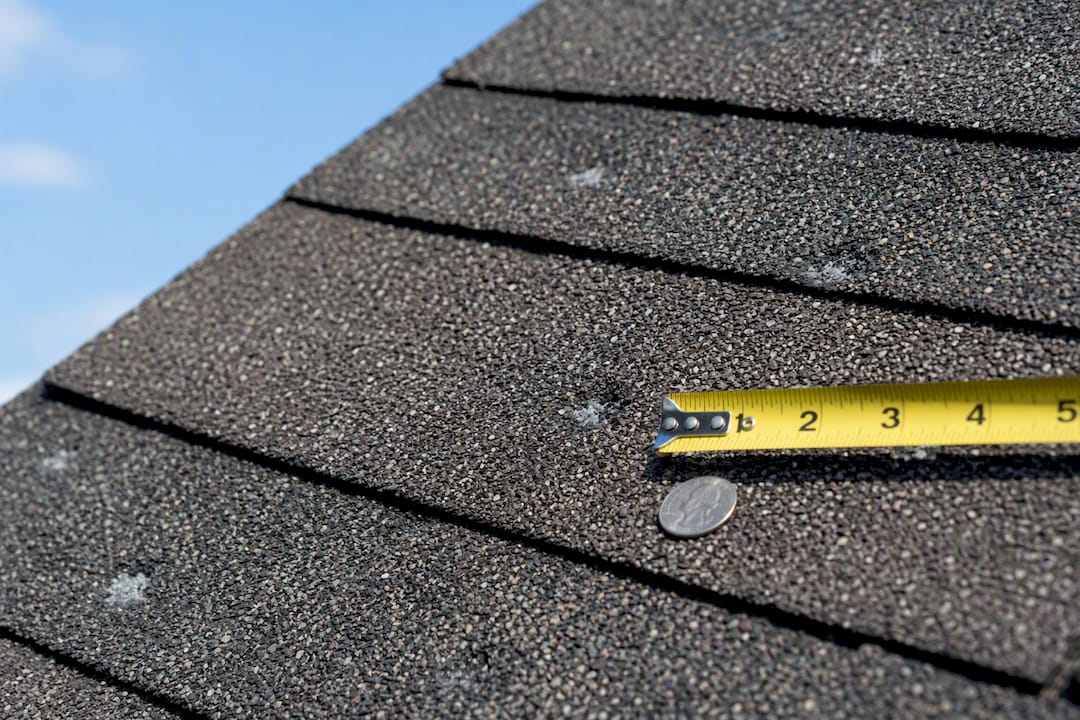
- Circular spots of granule loss exposing the black mat underneath
- Concave dents you can feel with your palm, not just see
- Impacts scattered across a slope rather than following wind-driven lines
The distinguishing test isn’t always what the damage looks like. It’s the pattern. Wind damage tends to follow a direction, concentrated on the slope facing the storm. Hail damage scatters randomly across exposed surfaces and often correlates with dents on collateral items nearby. InterNACHI’s inspection guidance notes that wind and hail frequently occur together during the same storm, which is why checking directionality across multiple slopes helps separate genuine storm damage from ordinary wear.
When you photograph close-ups, place a coin, ruler, or golf ball next to each mark. Scale turns a vague photo into evidence an adjuster can actually measure.
Checking Your Attic for Hidden Storm Damage
Roof damage rarely announces itself indoors right away. By the time you see a stain on the ceiling, water has usually been finding its way in for a while.
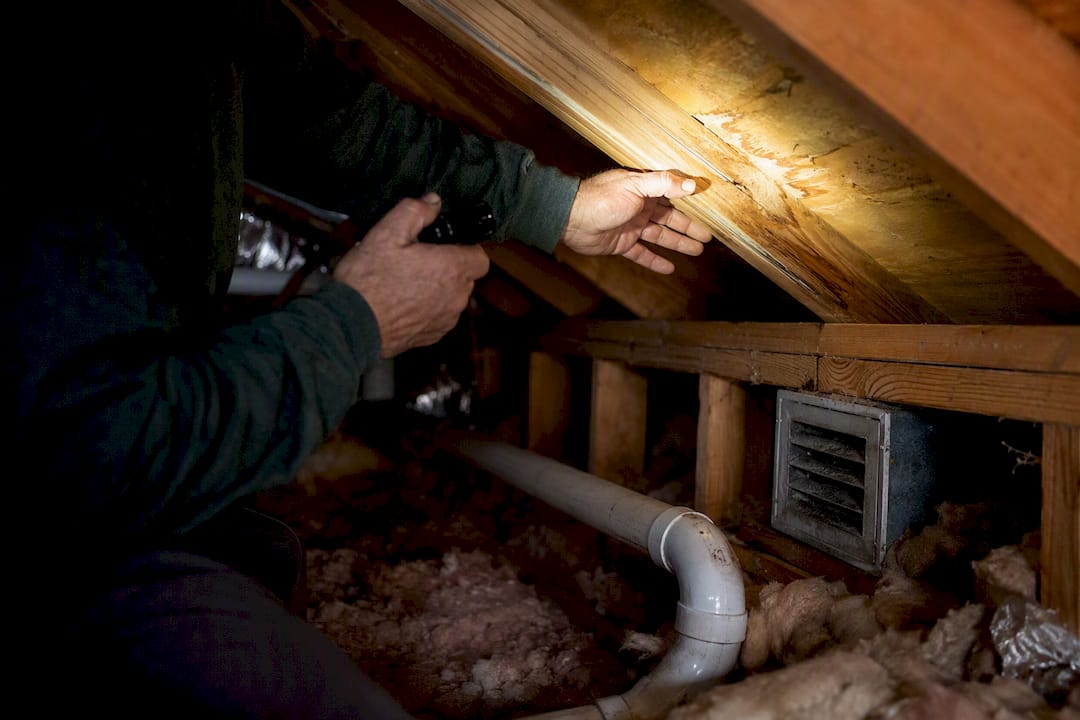
Grab a flashlight and check your attic for these signs, if you can access it safely:
- Beams or pinpricks of daylight coming through the roof deck
- Damp, compressed, or matted insulation, especially near roof penetrations like vents and chimneys
- Water stains or dark streaking on rafters and the underside of the decking
- Ceiling discoloration or a musty smell in rooms directly below the roof
Photograph each finding with a timestamp, and note exactly where it is relative to the nearest vent pipe, skylight, or chimney. That location detail helps a contractor trace the leak back to its source on the roof rather than guessing. If you find standing water or soaked insulation, that’s a signal to bring in water damage restoration support alongside the roof repair itself.
How Do Insurance Adjusters Want Storm Damage Documented?
Adjusters see hundreds of claims after a regional storm, and the files that move fastest are the ones organized the way they already expect. That means overview shots, close-ups with scale, timestamps, and a hail count they can verify.
- Shoot overview photos first. One image per roof slope, taken from the ground or a safe vantage point, establishes context before you zoom in on individual marks.
- Follow with close-ups. Every impact mark, lifted shingle, or dented vent cap gets its own photo with a coin or ruler for scale, timestamped and geotagged if your phone supports it.
- Run the test-square method for hail claims. Choose a representative section on each slope, mark off a 10-foot by 10-foot sample area, and count every hail impact inside it.
- Pull the official record. Match your photo timestamps against NHC and National Weather Service storm data to build a chronology the adjuster can’t dispute.
- Assemble the file. Organize photos by slope, attach your test-square counts, and include a written opinion on cause and recommended scope.
Technical guidelines for assessing hail damage recommend basing repair versus replacement decisions on impact density measured this way, not on a single glance at one shingle. A slope with scattered isolated hits reads very differently than one with dense, consistent impact clusters across every test square.
Pro Tip: Test-square counts vary in how carriers interpret them, but a homeowner who records counts systematically and ties them to an official weather chronology has real leverage if an adjuster pushes back.
When Should You Call a Licensed Roofing Contractor?
A routine inspection checks general wear and maintenance needs. A storm-specific inspection is a different animal entirely, built to establish cause of loss, and insurers weigh the two very differently when reviewing a claim.
Bring in a licensed contractor as soon as you suspect storm damage, especially before filing. A proper storm damage roof inspection should produce:
- A photo catalog organized by slope, with timestamps and scale references
- Test-square hail counts for each affected section
- A written cause-of-loss opinion, separate from a generic repair estimate
- A defined scope of work with an itemized estimate
Watch for red flags. Walk away from any contractor who pressures you to sign a contract on the spot, offers to waive your deductible, hands you vague photos with no counts or measurements, or can’t produce a license number when asked. Ask your contractor how they calculated hail density, and ask your adjuster what documentation format they prefer before you submit anything.
How Smart Roofing & Restoration Approaches Storm Damage Inspections
Licensed roofing contractors carry, and that credential comes with manufacturer-backed warranty support on qualifying installations.
Storm inspections cover asphalt shingle, tile, low-slope, and solar roofing, since collateral damage often spans more than one system on the same property.
A completed inspection includes:
- A full photo catalog sorted by roof slope
- Test-square hail counts where applicable
- A clear scope recommendation and on-site estimate
- Support navigating the insurance claim process
What the Test-Square Method Really Tells You
Most advice about storm damage treats every dent and scuff as equally urgent, and that’s where homeowners get it wrong. A single impact mark on one shingle doesn’t tell an adjuster anything useful. Density does. That’s the entire logic behind the test-square method: it turns a subjective “does this look bad?” into a countable number an insurer has to respond to.
The conventional advice to “get photos and call your insurer” isn’t wrong, but it skips the part that actually wins disputed claims: organizing evidence the way an adjuster is trained to read it, with counts per slope, not just a folder of random shots.
If you take one thing from this, prioritize the attic check and the test squares over aesthetic damage. A missing shingle is obvious. A soaked rafter you never look at becomes a mold problem three weeks later. Do the boring, systematic documentation first. It’s what separates a smooth claim from a drawn-out dispute.
Get a Professional Storm Damage Inspection From Smartroofingpros
If you’ve worked through the ground-level checklist and found signs of wind or hail damage, the next move is a professional inspection that turns your photos into a report an insurer will actually act on.

Whether your roof is asphalt shingle, tile, low-slope, or solar, the same inspection process applies, and any recommended repair comes with manufacturer-backed warranty coverage. If your attic check turned up water stains or damp insulation, Smartroofingpros also handles water damage restoration under the same visit, so you’re not coordinating two separate contractors after one storm. Schedule a storm damage roof inspection with Smartroofingpros and get an on-site estimate with no hidden costs before you file your claim.
Frequently Asked Questions
How soon after a storm should I get a roof inspection?
Schedule an inspection within 48 to 72 hours for severe storms. Most guides recommend acting within two weeks at the latest, since delayed documentation makes it harder to prove storm damage caused the issue rather than gradual wear.
Can I inspect my own roof for storm damage?
You can safely check plenty from the ground with binoculars, including missing shingles, gutter debris, and collateral damage to metal fixtures. Climbing onto the roof yourself is not necessary and adds real fall risk, so leave the slope-by-slope inspection to a licensed contractor.
What is a test square in a hail damage inspection?
A test square is a marked 10 foot by 10 foot section on a roof slope where a contractor counts hail impact marks. The resulting density helps determine whether a slope needs spot repair or full replacement.
How do I know if my insurance claim window has passed?
Check your homeowner’s policy for its specific notice requirement, since windows vary by carrier and state. Filing sooner rather than later, ideally within the first two weeks after a storm, protects your position regardless of your policy’s exact deadline.
What should a contractor’s storm damage report include?
Expect a photo catalog organized by roof slope, test-square hail counts, a written opinion on cause of loss, and a defined repair or replacement scope with an itemized estimate.
Sources
- Mastering Roof Inspections: Wind Damage, Part 1 - InterNACHI®
- Guideline to Assess Hail Damage to Shingle Roofs - Nelson Forensics
- Storm Damage Roof Inspection: Complete Step-by-Step Guide - CleanRoofing